

Quick deploy
- Agent
- Dashboard
- CLI
Ask an agent connected to the Porter MCP server to create the application for you. It detects your build settings from the codebase and opens a pull request that you merge to deploy.The agent resolves your Porter project and cluster, then calls
1
Check the prerequisites
- Connect your agent to the Porter MCP server.
curl -fsSL https://agents.porter.run | shdoes this for you and installs Porter’s skills. - Install the Porter GitHub App on the repository you want to deploy. The MCP server cannot install the GitHub App for you.
2
Ask your agent to deploy
create_app with the repository source and build configuration. Porter creates the application with a placeholder image and opens a pull request containing a GitHub Actions workflow.3
Merge the pull request
Review and merge the pull request that the agent returns. Merging it triggers the workflow that builds your code and runs the first real deployment.


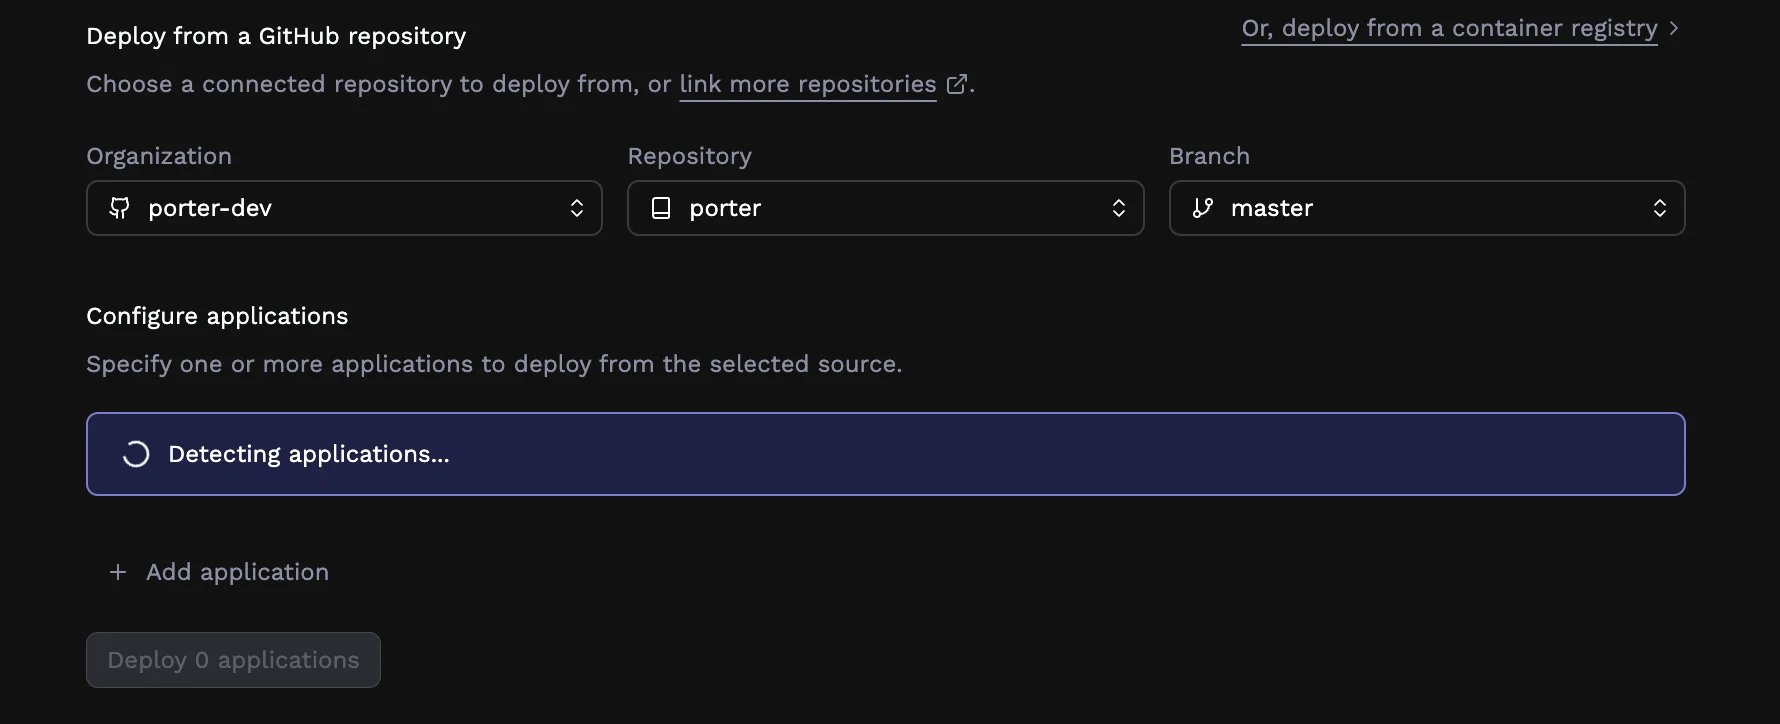
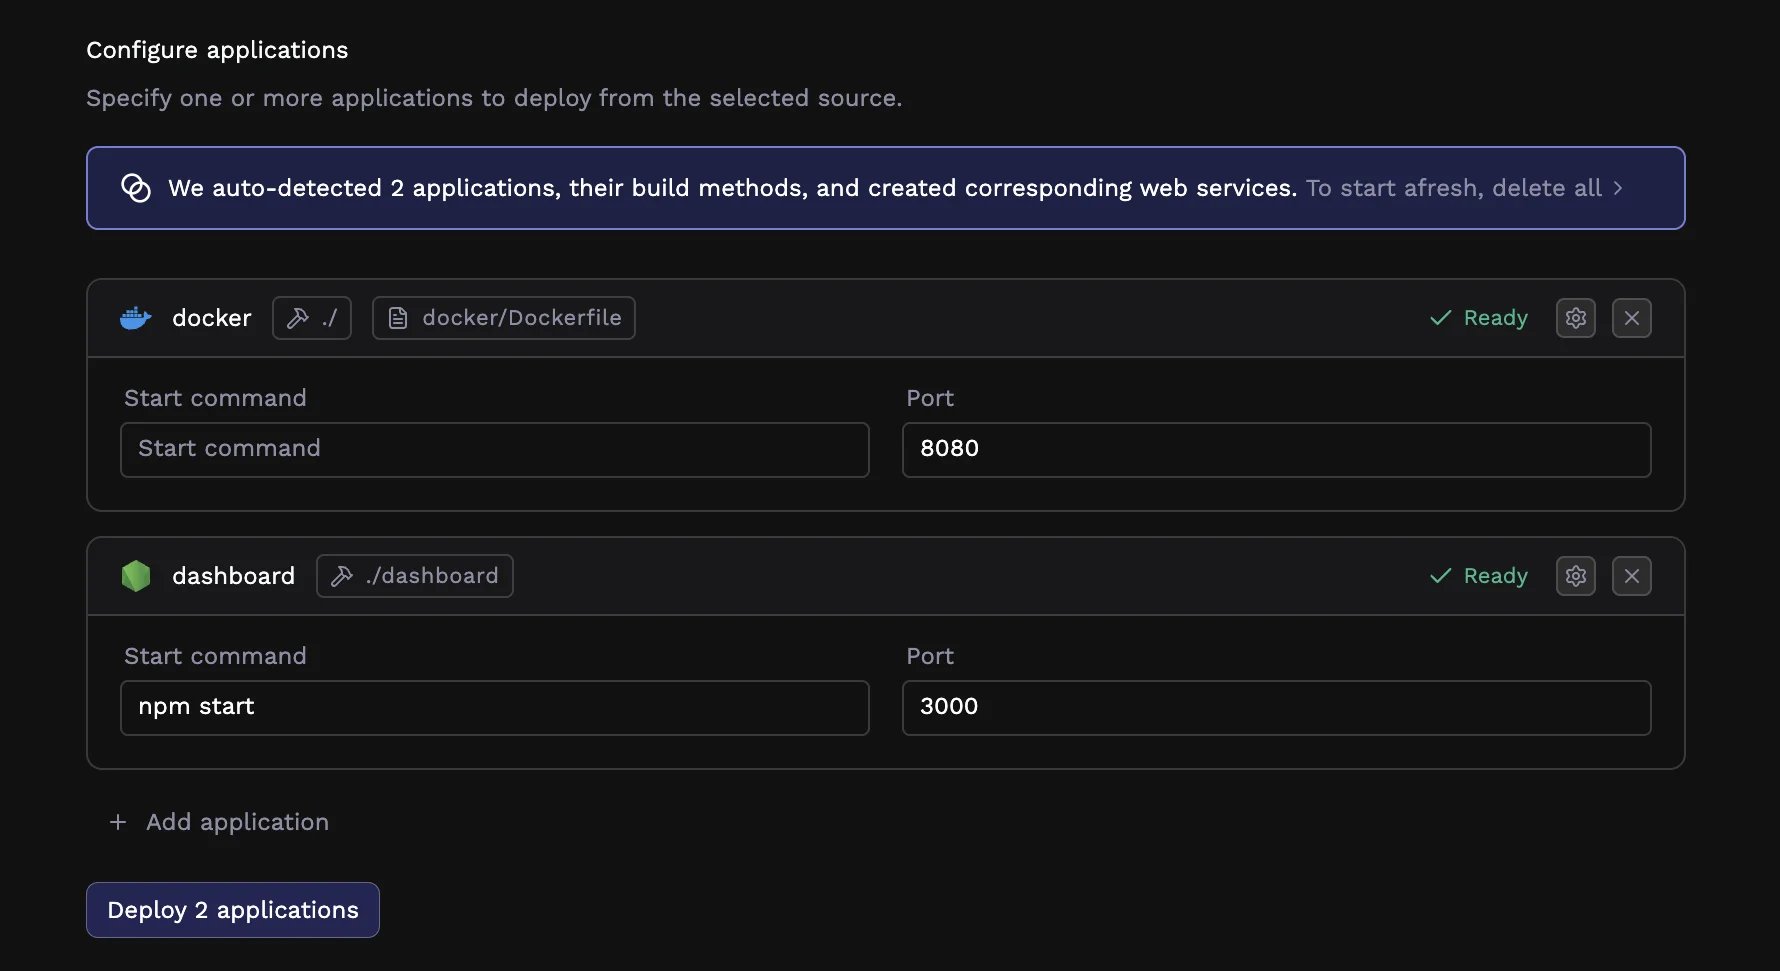

Customizing your deployment
Porter’s defaults work well for many applications, but you have full control over every aspect of your deployment. The following sections explain each configuration area in detail.Build configuration
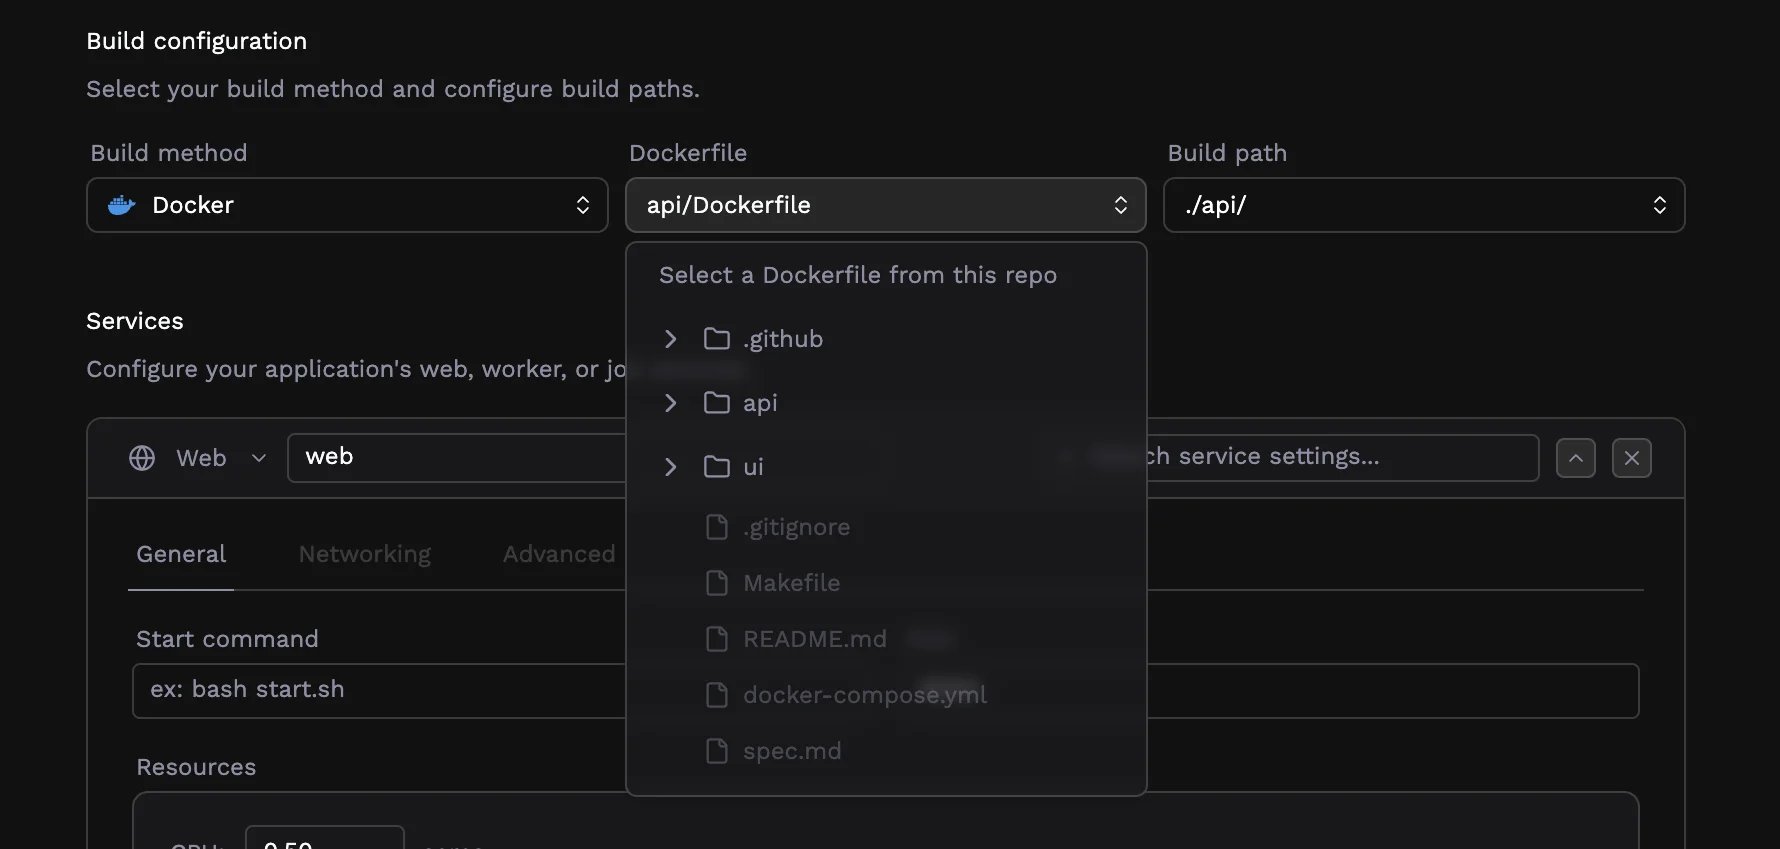
Porter needs to know how to turn your source code into a runnable container. There are two approaches: Docker (via Dockerfiles) and buildpacks.Docker builds
If your repository contains a Dockerfile, Porter can use it to build your application. This gives you complete control over the build process and is the right choice when you have custom system dependencies, need a specific base image, or have an application that buildpacks don’t support. When you select Docker as your build method, you’ll need to specify the path to your Dockerfile relative to the repository root. If your Dockerfile is at the root level, this is simplyDockerfile. For monorepos, it might be ./api/Dockerfile or ./frontend/Dockerfile.
Buildpacks
Buildpacks automatically detect your application’s language and dependencies, then build an optimized container image without requiring you to write a Dockerfile. Porter supports buildpacks for Node.js (including Next.js), Python (Flask, FastAPI, Django), Ruby (Rails), and Go. When Porter detects a supported framework, it selects the appropriate buildpack automatically. You’ll see the detected framework displayed on the application card. If the detection isn’t quite right, you can override it by selecting a different framework from the dropdown in an application’s configuration page.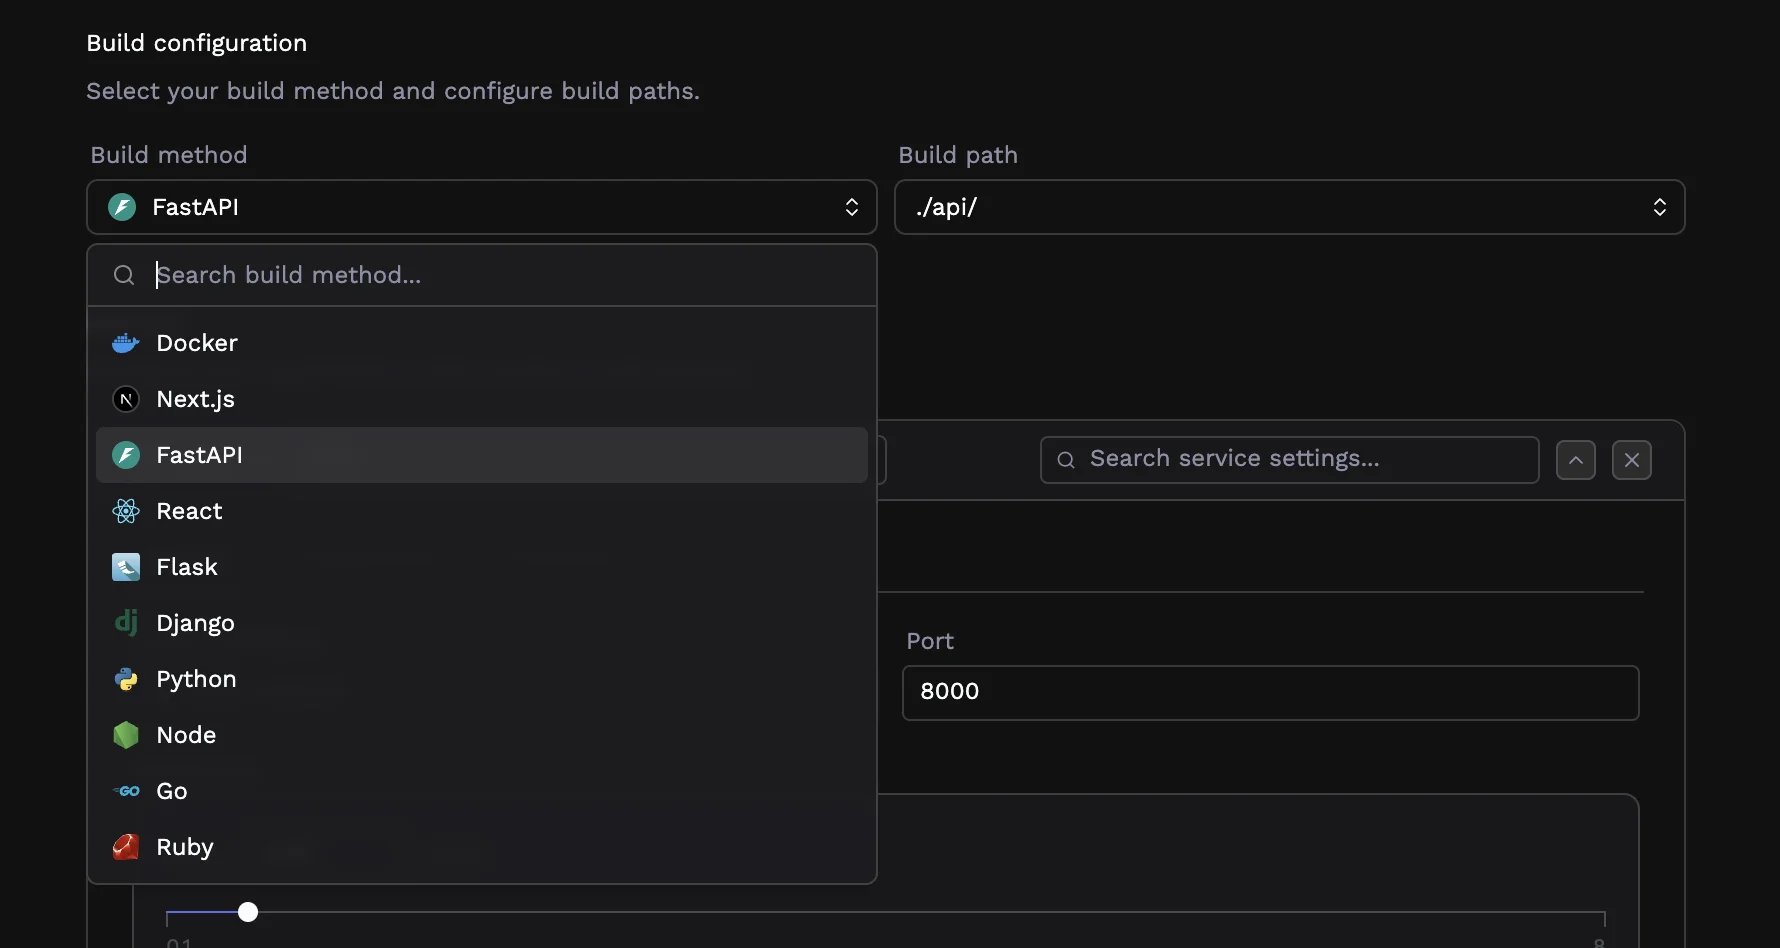
Build path
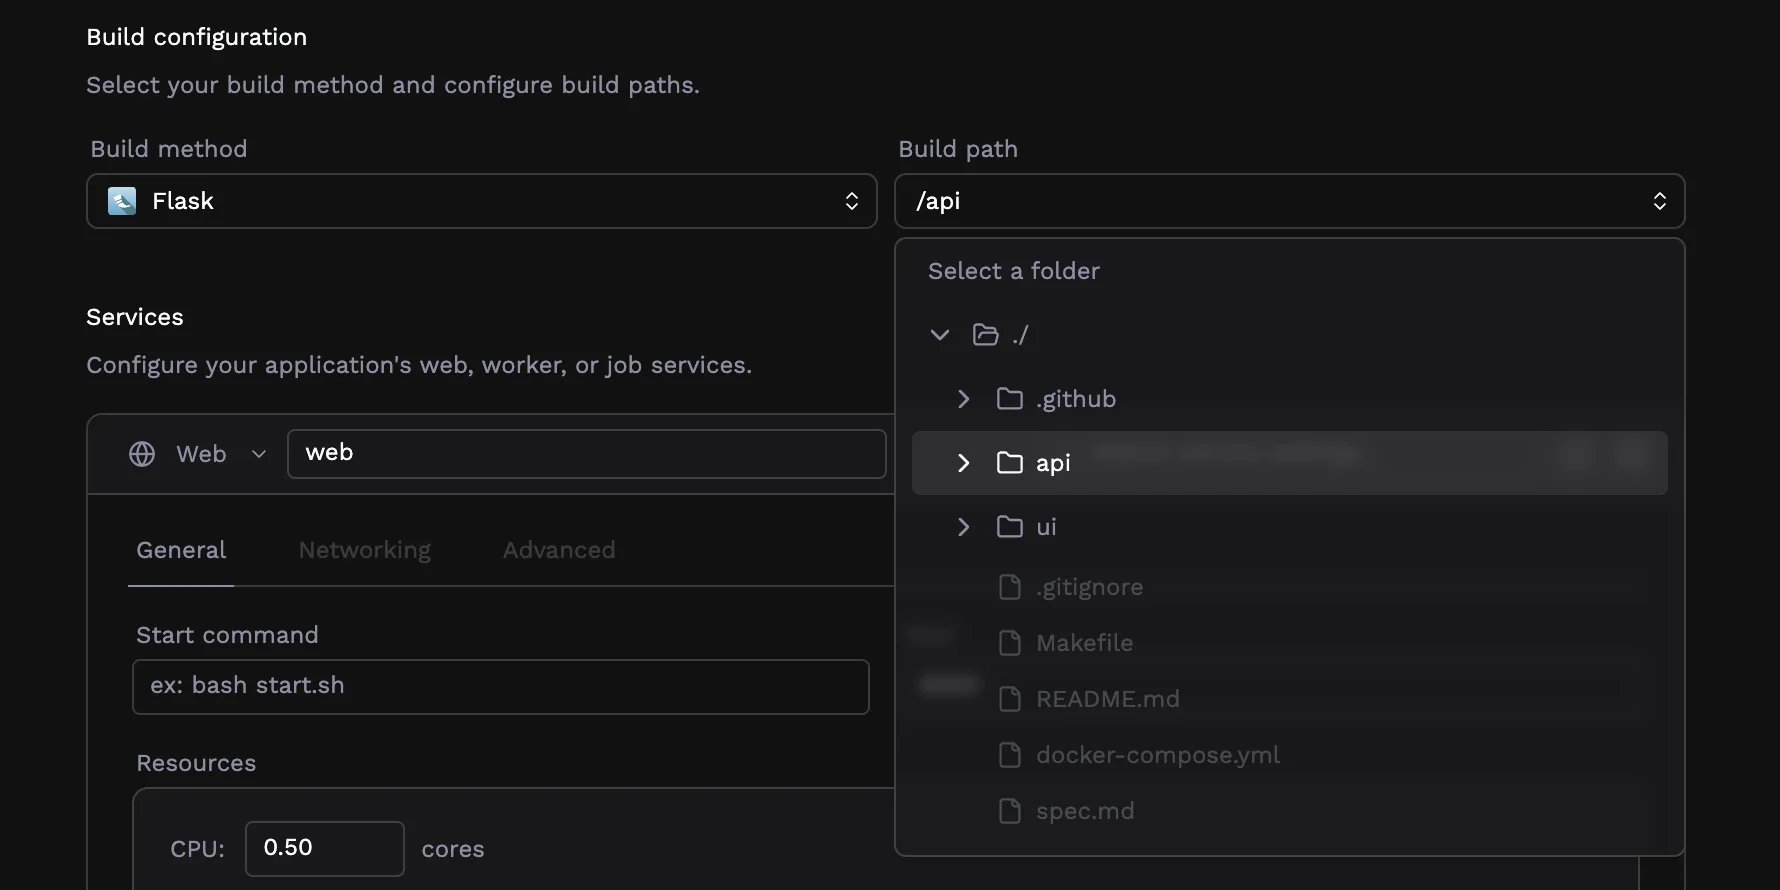
The build path determines which directory Porter uses as the root for your build. For most repositories, this is./ (the repository root). In a monorepo, you’ll typically set this to the directory containing the specific application, like ./api or ./frontend.
The build path affects where Porter looks for your Dockerfile (if using Docker builds) and which files are available during the build process.
Configuring services
A Porter application consists of one or more services—web services for HTTP traffic, workers for background processing, and jobs for scheduled tasks. By default, Porter configures a single web service for detected applications. For a complete guide to service types, resource allocation, networking, environment variables, health checks, and more, see Configuring application services.What happens when you deploy
When you click Deploy, Porter initiates several processes: First, Porter creates a GitHub Actions workflow file in your repository at.github/workflows/porter.yml. This workflow triggers on pushes to your selected branch, building your application and deploying it to Porter. You’ll see a pull request created with this workflow file, and merging this PR enables automated deployments.
The initial deployment builds your application image using the configured build method and starts your services with the specified configuration. You can monitor deployment progress from the application dashboard, which shows build logs, deployment status, and any errors that occur.
Once deployed, subsequent pushes to your branch trigger automatic rebuilds and deployments. Each deployment creates new container instances, runs health checks (if configured), and shifts traffic only after the new instances are ready.
From your application dashboard, you can view logs, monitor resource usage, check deployment history, and make configuration changes. Configuration changes from the dashboard trigger new deployments but do not rebuild your application; rebuilds only happen when triggered from GitHub.